
A Guide to the Custom Home Construction Process

If we had a dollar for every time we were asked about the custom home construction process, well we would have quite a few dollars. Instead, we bring you a blog post with a guide to all the details, no dollar required.
We have been wanting to write this blog for some time. It is just the classic case of ‘how long is a piece of string’. Not only have no two build processes ever been the same, no two houses that we build are the same. As a custom home builder, each build is incredibly different to the next.
Therefore, this blog comes with caveats, lots of them. All the details below are for a very general guide only. They should not be used as a guarantee to estimate the construction process of your own build.
If you are still on the fence about building a new home, the best place to start is with our blog post 12 Things to Know Before Building a Home. It is a straight up and informative article that will help with the decision.
Now that the formalities are over, let’s dive into a general custom home construction process and timeline. We have a bit to cover here, so jump to the sections that you want to know more about. Or grab a cuppa and settle in.
It all starts somewhere
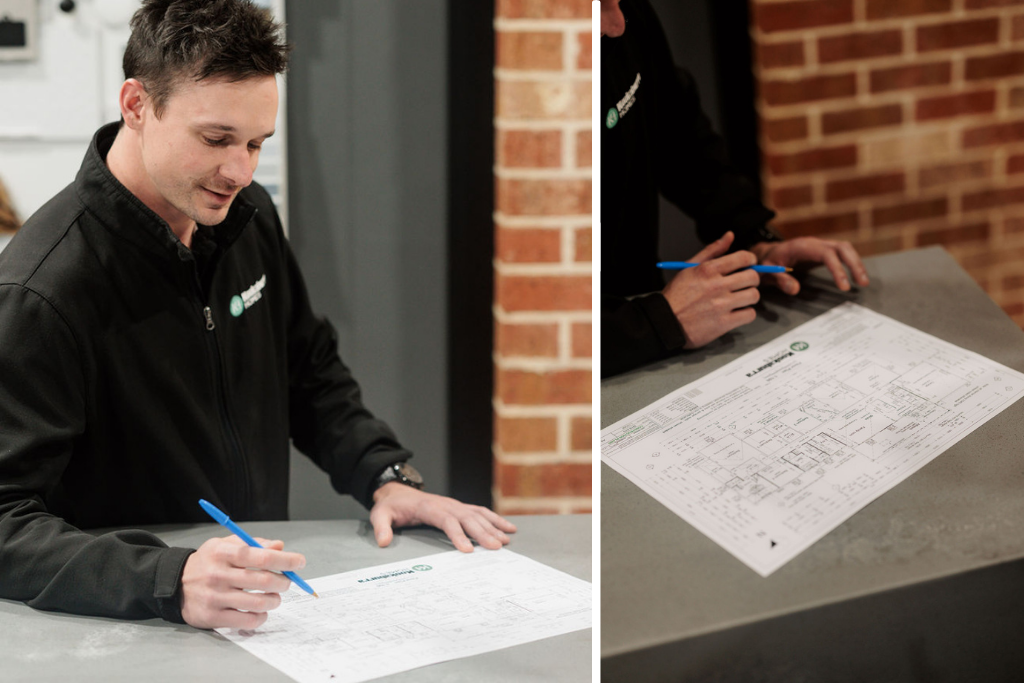
1. Planning and design
Your initial enquiry, via phone or email, will come through to one of our Sales and Design Consultants. Or you may meet them in person at our Display Home or Selections Centre. They will assess your lifestyle needs, your block and your budget.
From there, they work with you to design a custom floor plan that is perfect for you and your requirements. As part of our custom design service, we offer multiple design meetings so you can come back with revisions to ensure it is the perfect floor plan for you. We are a custom home builder after all.
2. Free new home price estimate
You read that correctly. We are one of few builders that still offer a free estimate. Your Sales and Design Consultant will set a time to go through this with you, so you understand everything that is included.
Once you are happy with your estimate and design concept, this is where we require a deposit payment to get your build journey underway. Your deposit payment signals your Sales and Design Consultant to finalise your build file and submit it to our team to commence the Pre-Construction Process.
This is where things start to become more official. Your build file is processed and with that comes some exciting documents. Working Drawings (plans and elevations), Preliminary Engineering (level survey, soil testing, engineer prepared site plan and footing design) and an Energy Assessment.
Once each of these documents are completed, our Estimating Team can finalise your Preliminary Pricing Agreement. Your Sales and Design Consultant will provide these to you to review. At this stage, you have the opportunity to alter your home design in anyway prior to confirmation of your design structurally. This is also the time to confirm the location of your home on your site plan.
At this confirmation your second and final deposit is paid for us to commence the approval stage of the process along with selections.
Where it all comes to life
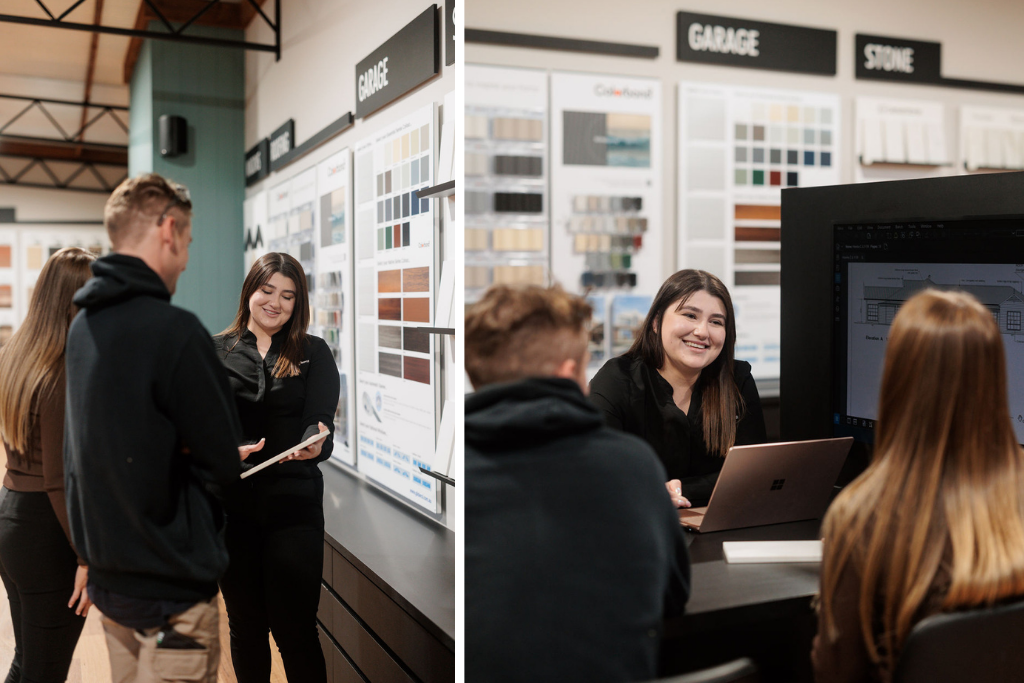
3. Council approval
We submit your confirmed design to your local council for planning consent as soon as we are able. We are then in their hands whilst we await their feedback and requests. Coinciding with this, your selections can also get underway.
4. Selections appointment
We think this is the fun part. You can be your own judge. Your selections appointment is a full day, in-person activity with your Selections Consultant. This day covers making the choices for your colours, materials, joinery design, fixtures and fittings. Most is completed at our Head Office and Selections Centre in Murray Bridge with two external appointments across the road.
We have a virtual tour available of our Selections Centre so you can have a sneak peek of the space before your selections appointment. And your Selections Consultant will send you some information before this day, so you aren’t coming in unprepared. You can come super ready with all your choices or allow the process to unfold and make decisions on the spot.
5. Flat lay fun
This is where the Marketing Team (yes, also who has written this blog post) get to have some fun with your selections. We work with your Selections Consultant to compile sample pieces of your choices and turn them into a photo worthy display for you to keep.
You may have seen these posted as permanent memories on our social media pages. Yours is welcome to join, if you are happy for this to happen. Or you can view some here if you still have no idea what we get so excited about.
6. Selections pricing and 3D imagery
This is where our Estimating Team step in, the pros of the Excel spreadsheet. They will generate your selections pricing based on your appointment choices. This process takes approximately six weeks. Our team works with our suppliers to provide you with an accurate variation quoted from your specific measurements.
When we think spreadsheets, we think everything is automatic. Something that surprises most is that our Estimators work everything out down to the last screw. This ensures we aren’t over ordering (less waste) and over quoting for your home. Our suppliers are also doing the same for your quote, which takes time.
As an addition to your flat lay, our in-house Drafter turns your plans and selection choices into 3D renders. This covers both external imagery and selected internal imagery (kitchen, pantry and living rooms). This is a great time to see your selections come to life and make any necessary changes. It is much easier to change your mind now, compared to when your home is completed. Noting that the more changes you make, the longer this process will take.
Confirming your selections pricing, marked-up plans and 3D images will start the process for Construction Plans from our in-house Drafter.
7. Drafting and approvals continue
Your marked up plans and selections choices are submitted to our in-house Drafter. They will generate a set of construction plans for you to view and approve. Once approved, along with Council approval, we are able to finalise the approvals stage (framing report, building rules consent and development approval).
Chunky paperwork phase
8. Council approval
Yes, this is back again. This can be a long spell of waiting, for both you and us. So, it may or may not still be here at this stage. We have no direct access to your local council, we take a ticket like every other builder and wait our turn. Our Pre-Construction team will keep you updated on the progress and continue to work on your contract pack in the meantime.
9. Signature day
We hope you have been working those arm muscles as this is the chunkiest single document you will receive from us. We even had custom folders made to fit this plumpy document. This document calls for a meeting with your Sales and Design Consultant to run through its entirety. This can go anywhere from one to two hours, depending on the detail you wish to discuss the particulars.
Bonus points to you if you have drinks and snacks available or choose to meet at a café. The Sales Team won’t like me mentioning that, but I know how much it is appreciated.
10. Pre-construction tasks
If you have opted to take ownership of any tasks pre-construction, this is the time to get them finalised, if you haven’t already. This could be demolition, retaining, all weather site access driveway, or tree removal. If we are looking after these tasks, there is nothing for you to think about here.
Construction
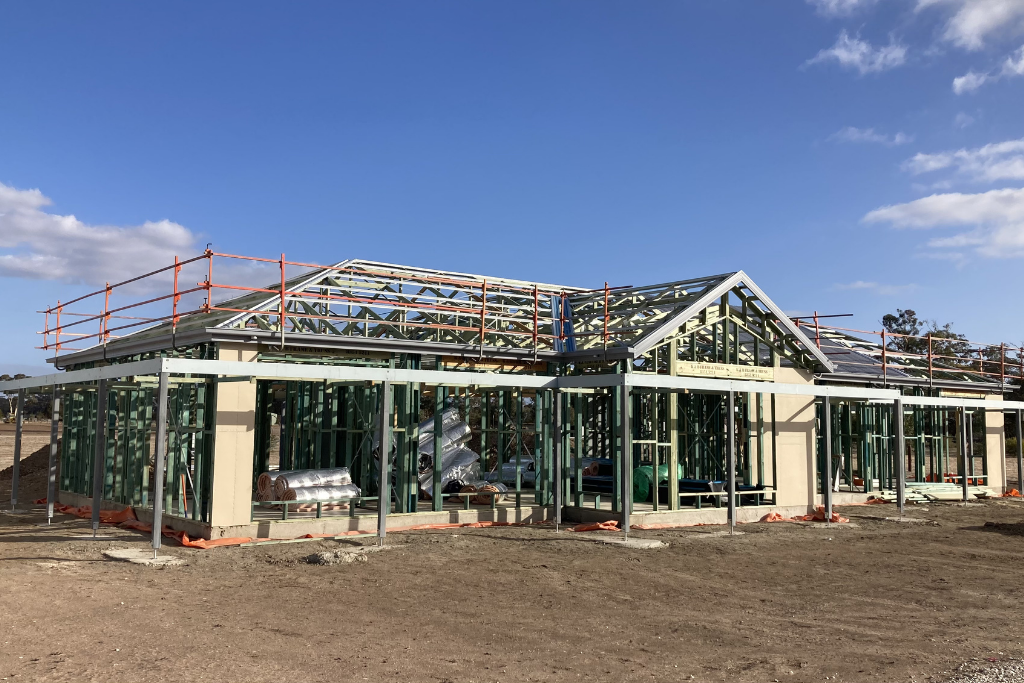
11. The building process and progress claims
One thing that stays consistent, no matter how big or small your home, is the building process. We have four custom home build types – Brick (B), Cladded on Slab (S), Lightweight (L) and Pole Frame (P). All are rather different externally and this slightly changes the order we construct in. As for the steps internally, this is mostly all the same.
If you noticed the codes above, you might be wondering what they are for. If you are already building with us, you should have noticed one of these on your build documents. The letter starts your ‘building job number’ followed by a five-digit number. This gives you a unique code in our system. It is featured on everything from your plans to your contract and selections schedule.
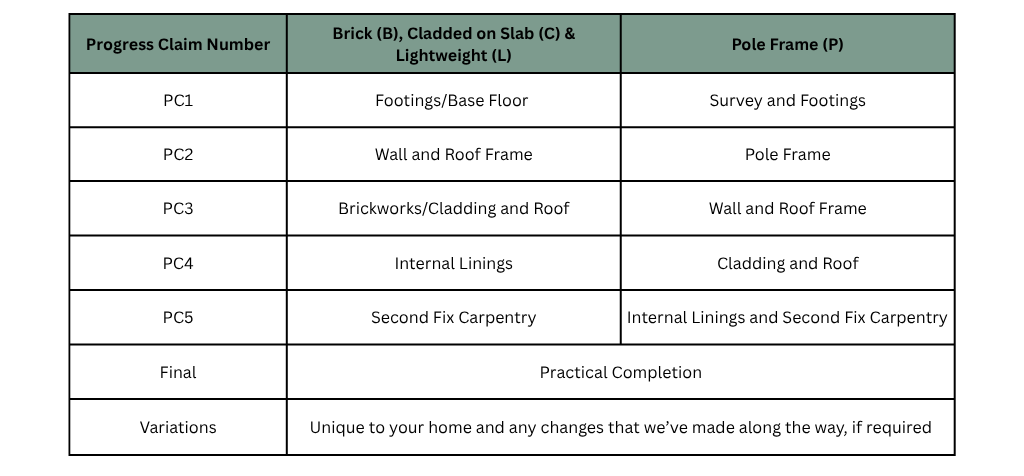
The progress claims work as check in points for progress payments. This allows you to progressively pay off your build, instead of all at once. Similar to a layby (are these still a thing?), just with a much better reward at the end. Payments are required after substantial completion of each stage.
12. Progress details
Let’s dive into some more details on what the progress claim details include, plus some we have added in to make more sense of the process. You build may follow a slightly different order. This is where chatting to your Site Supervisor is the best way to know your exact build plan based on your home:
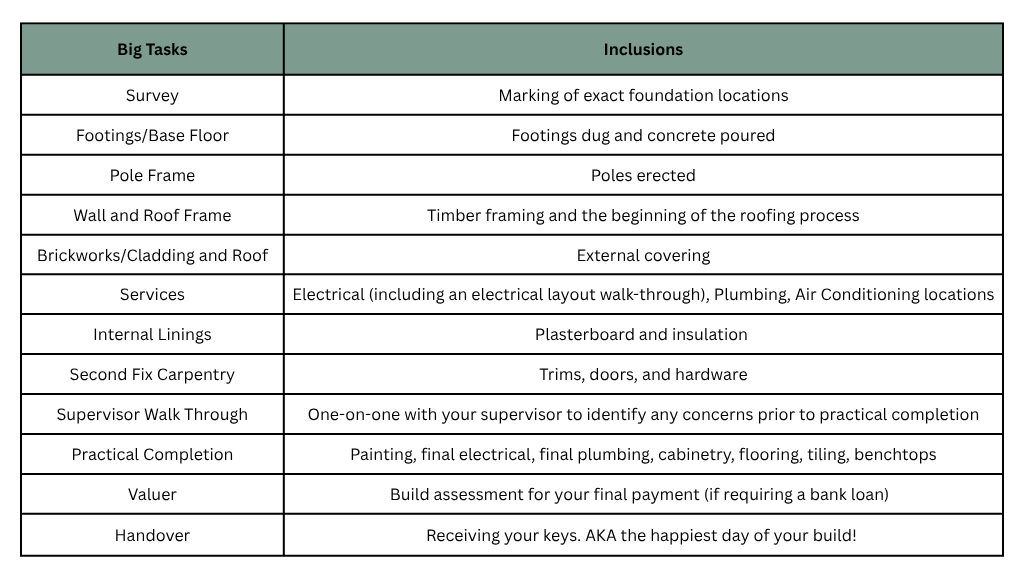
13. Building delays
We like to think they won’t happen, but we all know the reality. If there are going to be any delays, it will likely be one of the causes below:
- Weather. It is a given for this list, especially in winter.
- Type of build:
- Pole frames need an extra step, the poles, which adds additional time
- Multi story dwellings make things a little more challenging with scaffolding requirements
- Site difficulty:
- We are looking at you sloped and steep blocks. They require more time and precision for the slab to be poured. We currently have a home that requires four pours to cater to the undulating block. That is a lot of additional time (and skill)
- Rock breaking. This is one which may have prior warning from your soil testing or no warning at all. Either way, this is something we would all rather not happen as it causes an increase in both build cost and time
- The same goes for those on DIT (Department and Infrastructure and Transport) Roads. There are potential additional requirements and setbacks, pending your location
- Site location:
- The more ‘off the beaten track’ your block is, the harder it is for us to get to you. This could mean more time getting supplies to your site – think multiple small trucks instead of one big one or hand unloading a truck instead of using a forklift/truck crane
- As are regional locations as many of our trades are travelling from Adelaide/Murraylands. Less hours in the day due to travel, means less time at your site and more days required. Some will stay close to your build, while others prefer to head home each night to their families
- Trade availability:
- Although not a huge factor, we occasionally have time delays with trade availability. Your home might be ready for the next step, however, our trade might still be working on their previous build
Handover and beyond
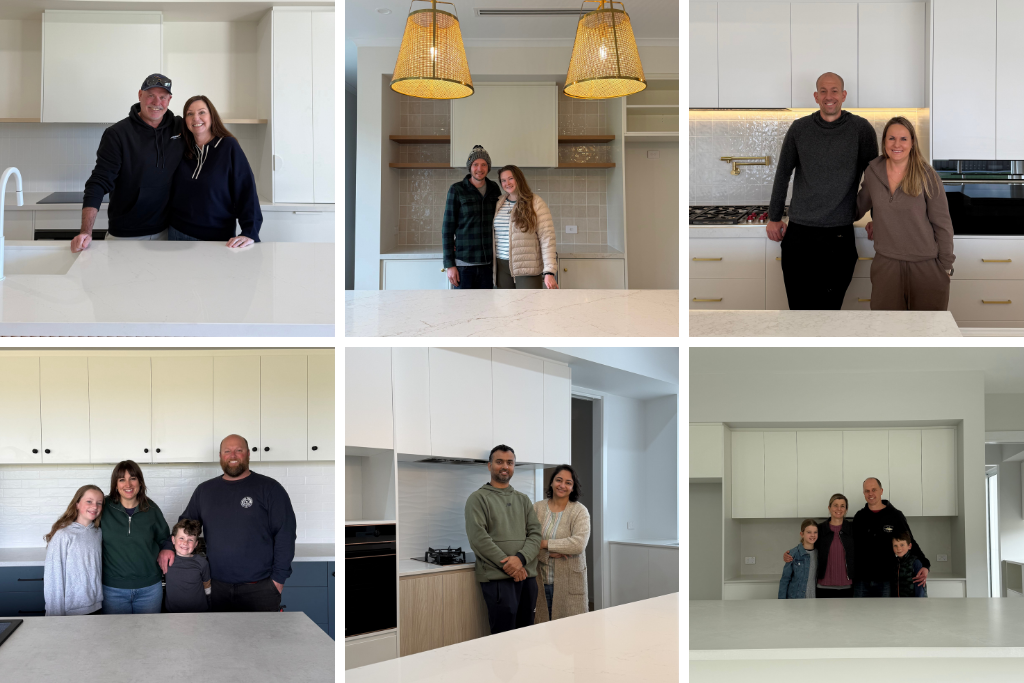
14. Receiving the keys to your custom home
We are going to save a huge text block here. We already have a blog post about the 17 Things to do Before Handover Day. It is a good read full of tips and tricks, so you aren’t surprised at handover day.
15. Handy handover folder
If you have read any of our other blog posts, you might know that we leave a handy handover folder. AKA the handbook of your build.
This folder contains everything you’ll need to know about your house and is all kept together in a handy folder. It contains any documents you received during the build process, certificates of compliance and details of our trades and suppliers. This folder is the ultimate reference point for your build.
If you ever plan to sell your house in the future, it is the most valuable tool (or gift) to the future owners. As the purchaser of an existing Kookaburra Home, I know how handy it has been as my husband and I have made changes over the years.
16. We will visit again
You can’t get rid of us that easily, for a good reason. We run a thirteen-week, three-month maintenance period. This gives you the chance to live in your home and discover its personality, or the annoying quirks.
Your Site Supervisor will be in touch post thirteen weeks to check in. So, make sure you have jotted the maintenance items down somewhere handy, so you don’t forget any. They will fix what they can on the spot and schedule the appropriate trades to return to make any other changes.
Caveats
17. The parts that make a huge difference
We spoke about caveats earlier. Now is the time for a few handy tips and tricks to make the process as smooth as possible. Yes, as you have read, there are plenty of times where waiting is the only option. These tips help dodge any avoidable delays.
Our number one biggest tip of all – being timely. Responding to emails and phone calls as soon as you can will keep the ball rolling. We understand that our staff often work the same hours as you do, super handy if they don’t, so emails are often the best mode of contact. They also provide everyone with a trail that is great to refer to.
If it goes the other way and you think that we are taking too long to respond, let us know. There is likely a good reason we haven’t replied, albeit very frustrating for you. At the end of the day, we want to build your house as much as you do.
Our second tip is to trust the process. We have given you the best version of the process that we can here. Lean on our team to answer any questions that we haven’t covered. But please remember that you don’t need to feel like the process can’t be your own. We are building YOUR house, so want it to work for all of us.
18. The real timeline
You may have noticed that we haven’t given you a ‘timeline’ of your build. While we would love to jot it down for you, there are just too many factors that can make your build faster or slower than planned. The main one being that each home is completely custom and unique to you. Rather than give you a false sense of completion, we would much prefer that you chat with us along the way.
Have we forgotten something from the list? We would love to hear from you.
Looking for other building inspiration? Check out blog posts for everything from selecting an external colour scheme for your home, to choosing the right hard flooring or creating the perfect walk-in robe.
By Amy Rosendale